
Project Example
Reworking a dim kitchen with layered lighting
A single ceiling fixture rarely lights a kitchen the way people actually use it — this is how Hands On Home Improvement approaches a kitchen that has gone dark and uneven at the counters.
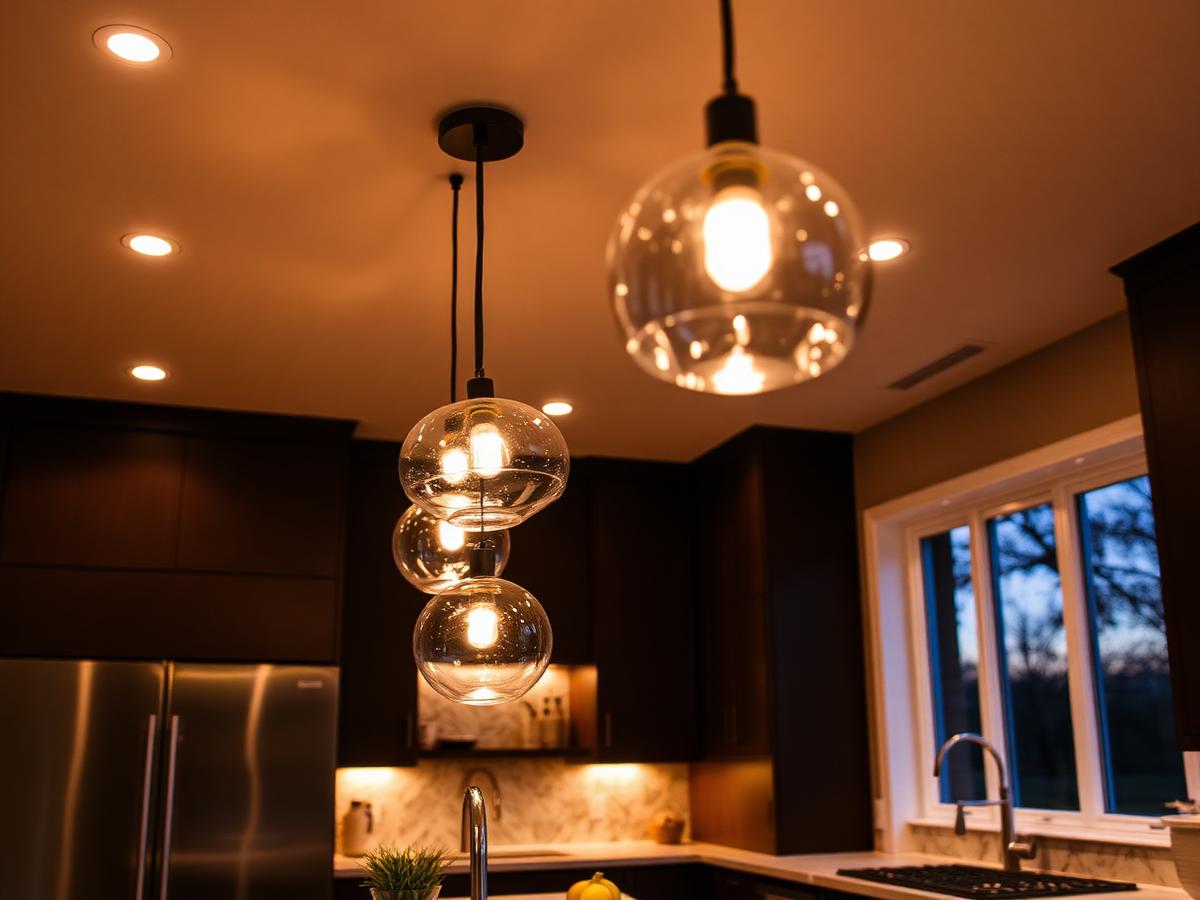
This page describes a typical version of this project, illustrated with a photo from similar lighting work. It is meant to show the approach, not to represent a single verified customer outcome.
The situation
The starting point for this kind of project is familiar in a lot of Tampa-area kitchens, especially in older homes: one ceiling-mounted fixture, usually centered in the room rather than over the counters or the sink, providing flat, uneven light. The middle of the kitchen is fine. The counters, where the actual food prep happens, are in shadow, especially once the sun goes down.
In a lot of cases the fixture itself is also outdated — an older flush-mount with a single bulb type, no dimming, and a color temperature that doesn't match newer LED under-cabinet lights or appliances that may have been added over time. The result is a room that technically has light but doesn't feel finished.
What gets considered before anything is installed
Before touching a ceiling, a few things get worked out. First is layering: general (ceiling) light, task light over the counters and sink, and sometimes a lower accent layer such as under-cabinet strips. A kitchen that relies on one layer alone almost always feels either too bright and flat, or too dim to work in.
Fixture placement matters as much as fixture choice. Recessed cans centered over counters and the sink do more for actual usability than a single centered fixture ever will, and pendant or semi-flush fixtures over an island change how the whole room reads without adding much brightness at all.
Dimming and color temperature come next. A kitchen used for cooking in the morning and entertaining at night benefits from dimmable controls, and matching color temperature across old and new fixtures keeps the room from looking mismatched once the new lights are on. For a fuller breakdown of these decisions, see how to plan a residential lighting upgrade.
Ceiling type and access are the practical constraints. Older Tampa homes may have plaster or furred-down ceilings with limited attic access in a given spot, which affects whether new recessed housings are straightforward to add or whether surface options make more sense. This gets checked before any cutting starts.
How the work is carried out
Power is confirmed off at the panel before any fixture or box is opened. Existing wiring and boxes are inspected — in an older home this sometimes turns up a box that isn't rated for the new fixture's weight, or wiring that needs a proper junction before new lighting can be added safely.
New fixture locations are laid out and cut in, wired back to switching, and set with dimmer controls if that's part of the plan. Fixtures are leveled and finished, and once everything is powered up, dimming and color temperature are checked together across the whole room rather than fixture by fixture, since that's how it will actually be seen day to day.
What goes in the Home Logbook afterward
For homes that continue working with Hands On, a project like this becomes part of the Home Logbook. That typically means:
- The fixtures installed, including model information where available.
- What was found in the ceiling — box condition, wiring, and any limitations discovered along the way.
- The switching and dimming setup, so the next person working on the room understands the circuit.
- Anything worth revisiting later, such as a spot that couldn't get recessed lighting without more ceiling work.
The point isn't just finishing the install — it's making sure the next project in that kitchen doesn't start from zero.
Related pages
- Lighting Installation Services
The full range of fixture, recessed and lighting upgrade work Hands On handles.
- How to Plan a Lighting Upgrade
Layers, placement, dimming and color temperature explained room by room.
- All Projects
Other categories of work, from mounting to smart-home installs.
- The Home Logbook
How completed work is recorded and kept useful for the next project.
Something with the house?
Start with Hands On.
Send Hands On a photo and tell us what's going on. You don't need to know exactly what the solution is.